Microsoft Planner & Project Plan 3
Overview
Microsoft Planner and Microsoft Project Plan 3 are Microsoft 365 tools that support task and project management at varying levels of complexity.
Microsoft Planner is a lightweight task management solution designed for team-based work tracking. It is well-suited for organizing assignments, managing shared task lists, and tracking progress within Microsoft Teams.
Microsoft Project Plan 3 supports structured project planning and scheduling. It is intended for project managers who require timeline management, task dependencies, and more formal project controls.
These tools scale from basic task coordination to advanced project and portfolio oversight, allowing departments to select the option that aligns with their business and project management needs.
For more information about Microsoft Planner, please see the UW Office 365 Planner page.
The Project desktop client included with Project Plan 3 can be used as a standalone application or connected to a Project-enabled SharePoint Online site. Additional setup may be required for SharePoint integration. A Project-enabled SharePoint Online site does not require the desktop client.
Before Purchasing a Microsoft Planner and Project Plan 3 Subscription
Organizations should carefully review Microsoft’s Project Online Admin Documentation to understand the configuration requirements and long-term maintenance needed to support this product. In particular, the Change Permission Management in Project Online documentation is essential, as selecting the wrong permissions model has created significant challenges for some organizations.
Please also review the Microsoft Project service description guide, as certain Project Online configurations may require additional licensing for advanced administrative and portfolio management capabilities.
How to Get Microsoft Planner & Project Plan 3
Students
Students can download the Project desktop application through Azure for Education.
Faculty/Staff
Microsoft Planner is included with eligible Microsoft 365 subscriptions and does not require an additional license purchase.
We offer Planner and Project Plan 3 licenses. To compare features, visit Compare project management solutions and costs.
The Microsoft Planner and Project Plan 3 license is offered to UW departments on an annual contract basis from June 1 to May 31, in alignment with our Microsoft agreement. This license does not include service or support for the product itself, and costs are not prorated when purchased partway through the contract year.
License Details
- The Microsoft Planner and Project Plan 3 licenses are assigned to individual users and are not intended for shared accounts. Each licensed user may install the Project desktop client on up to 5 devices, but the software may be used only by that user.
UWIT’s annual subscription billing is automatic: UWIT will automatically bill your UW funding source for this software subscription in the next license term, which begins every (fiscal) year on June 1. - Do you need to reassign the license to another person? You can make a reassignment request at any time during the subscription period by going to Manage My Subscriptions and completing the request form to transfer the subscription.
- Should you need to cancel the subscription: If you decide not to continue with another subscription term, you can stop UWIT’s automatic billing and cancel the subscription. Canceling your subscription means it will end on May 31. Use the Manage My Subscriptions Form, and do so no later than April 1.
- Departments are encouraged to evaluate usage periodically to ensure license tiers remain appropriate
Additional Information
- You can install Microsoft Planner and Project 3 on up to five devices.
- Yes
- The license can be transferred to another user at the department’s request.
- The license can be canceled using the Manage My Subscription Form. (Please read all the details related to cancellation.)
Step 1: Sign in to download the Project
- Go to https://admin.microsoft.com/account#
- Log in with your UW NetID credentials (NetID@uw.edu) – include the @uw.edu portion.
- In the Office Apps & Devices Box, click View Apps & Devices, then click Project.
- Under Software, click Project. Click the language and the bit version you want, then click Install. (To install 64-bit, under Version, select Advanced, choose 64-bit, and then click Install.)
Tip: If Project isn’t listed under the Software navigation heading on the left side of your page, it probably means you don’t have a license. Check if you have a license; if not, contact your admin to request one.
The Project should now begin downloading. Follow the prompts in Step 2 to complete the installation.
Step 2: Install Project
- Depending on your browser, click Run (in Edge or Internet Explorer), Setup (in Chrome), or Save File (in Firefox).
If you see the User Account Control prompt that says, Do you want to allow this app to make changes to your device? Click Yes.
The installation begins.

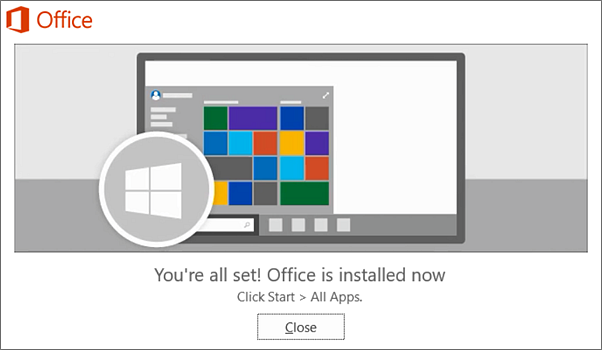
Your installation is finished when you see the phrase, “You’re all set! Project is installed now.” An animation shows you where to find the Project app on your computer.
Follow the instructions in the window to find Project. Depending on your Windows version, click Start, then scroll to find Project in your list of apps.
- No.
Quick Facts
Available for
Platform
PCCost
$85 annually
All sales are final.